Declaration of Independence: Part III
Ambushing the Bushings
Build Blog
 SVT_MAN - Sep 17, 2020
Article Series
The resulting battle victory improved the troop morale and inspired soldiers to continue for the cause. This was huge considering that just a week earlier, the army seemed to be on the verge of collapse.
Just like the rebel colonists, small victories proved vital to improve my morale and help me continue towards the finish line on this quest to install an independent rear suspension on my 1999 Ford Mustang GT.
Planning my own ambush on the enemy.
As you'll recall if you read Part II of this series, the first enemy I fought was rust. It was a hard-fought battle, but one I ultimately won.But there was another enemy lurking, and this one was even more dangerous from a safety perspective: worn and decrepit bushings.
Being that it was now the end of October 2019, and we had hit a cold snap in Wisconsin, I decided to move the battlefield indoors. The bushings put up a good fight, but ambushing them just when they thought they were safely tucked away for winter proved a valuable advantage.
New Enemy = New Battlefield.
I laid out an old blanket on the living room floor and prepared for battle. My first step was to find my newly acquired bushing and balljoint removal kit.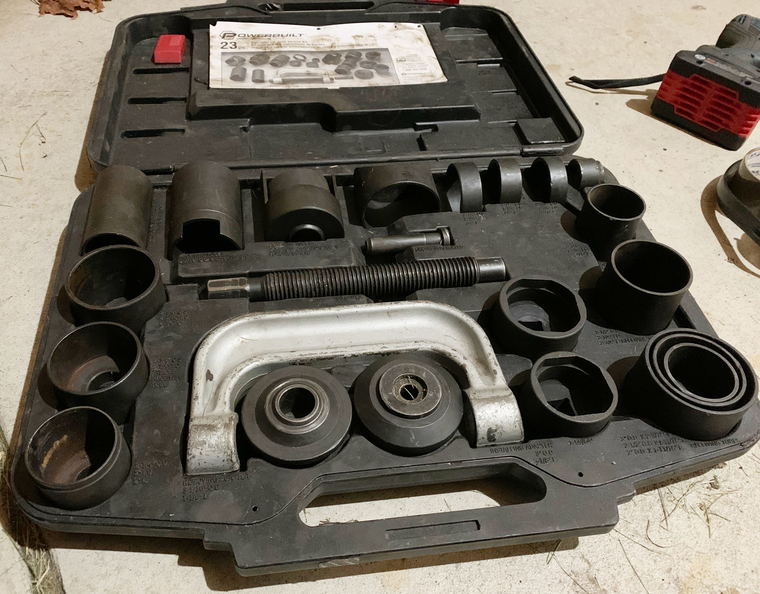
Then I got to work:
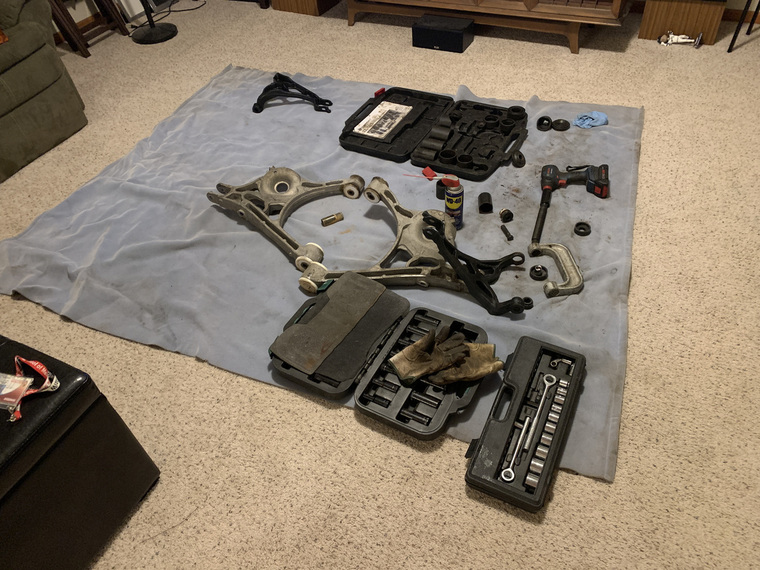
I won't bore you with the technical details of how to remove a bushing because it's something easier to show someone than to explain via written explanation.
If you want to learn how to remove a bushing from a control arm, the best tutorial I've found thus far is done by ChrisFix here: https://youtu.be/aPbL9HTHZg0 .
(Note: The video is also embedded at the beginning and end of this post.)
The General Idea: Use the Proper Tool.
Although I won't go into specific details about how to remove a bushing, the general idea is that you use the various cups and clamps in the kit to push the press-fit bushing out of the metal surface.Here's an example setup from one of the upper control arms:

Sometimes the best strategy was brute force.
Some of the removals weren't as easy as using the removal tools, however. For example, the lower control arm bushings proved easier to remove using alternative tools to the "proper" removal strategy.To remove these white bushings from the lower control arms, I actually found the easiest method was to merely use the end of a screw driver and a rubber mallet and pound away:
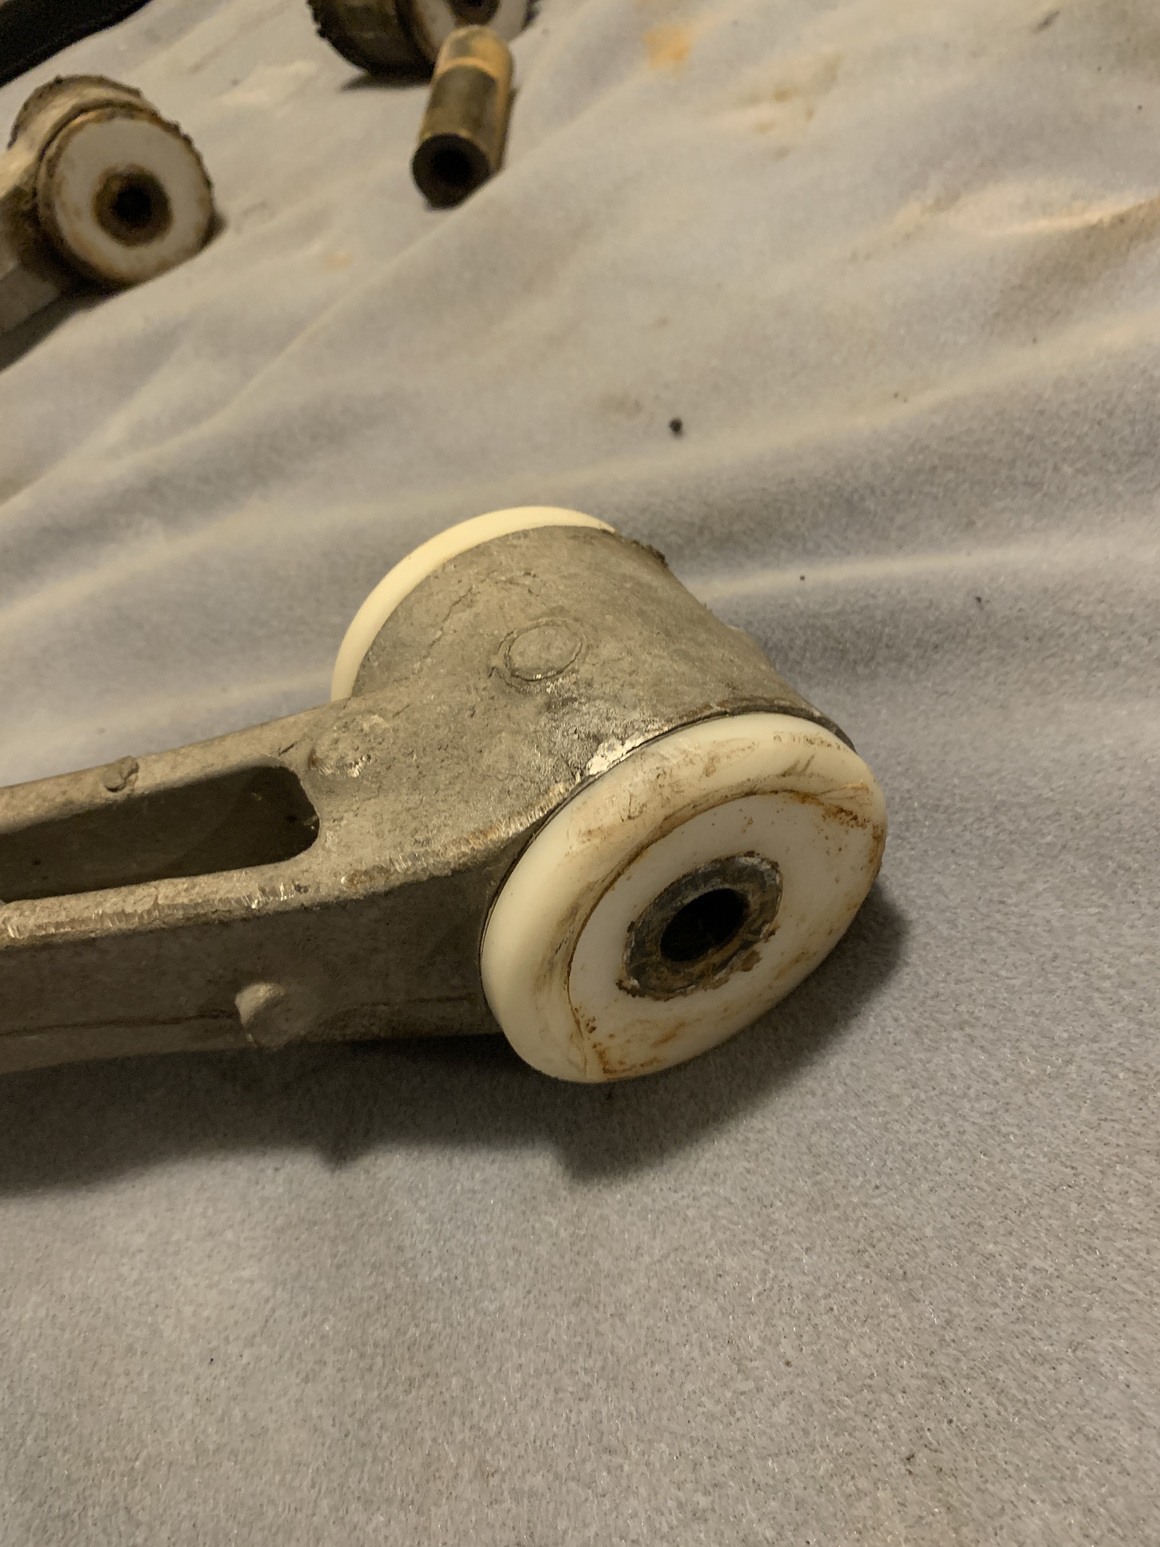
If you decide to go this route on your own lower control arms, please bear in mind that you will want to use due care since these lower control arms are made of aluminum and they will mar the surface quite easily.
But after a little patience and due care, you'll get it removed:
 After removing the bushing, you can then remove the inner sleeve.
 If your battlefield looks like this at the end, you're probably doing something right:
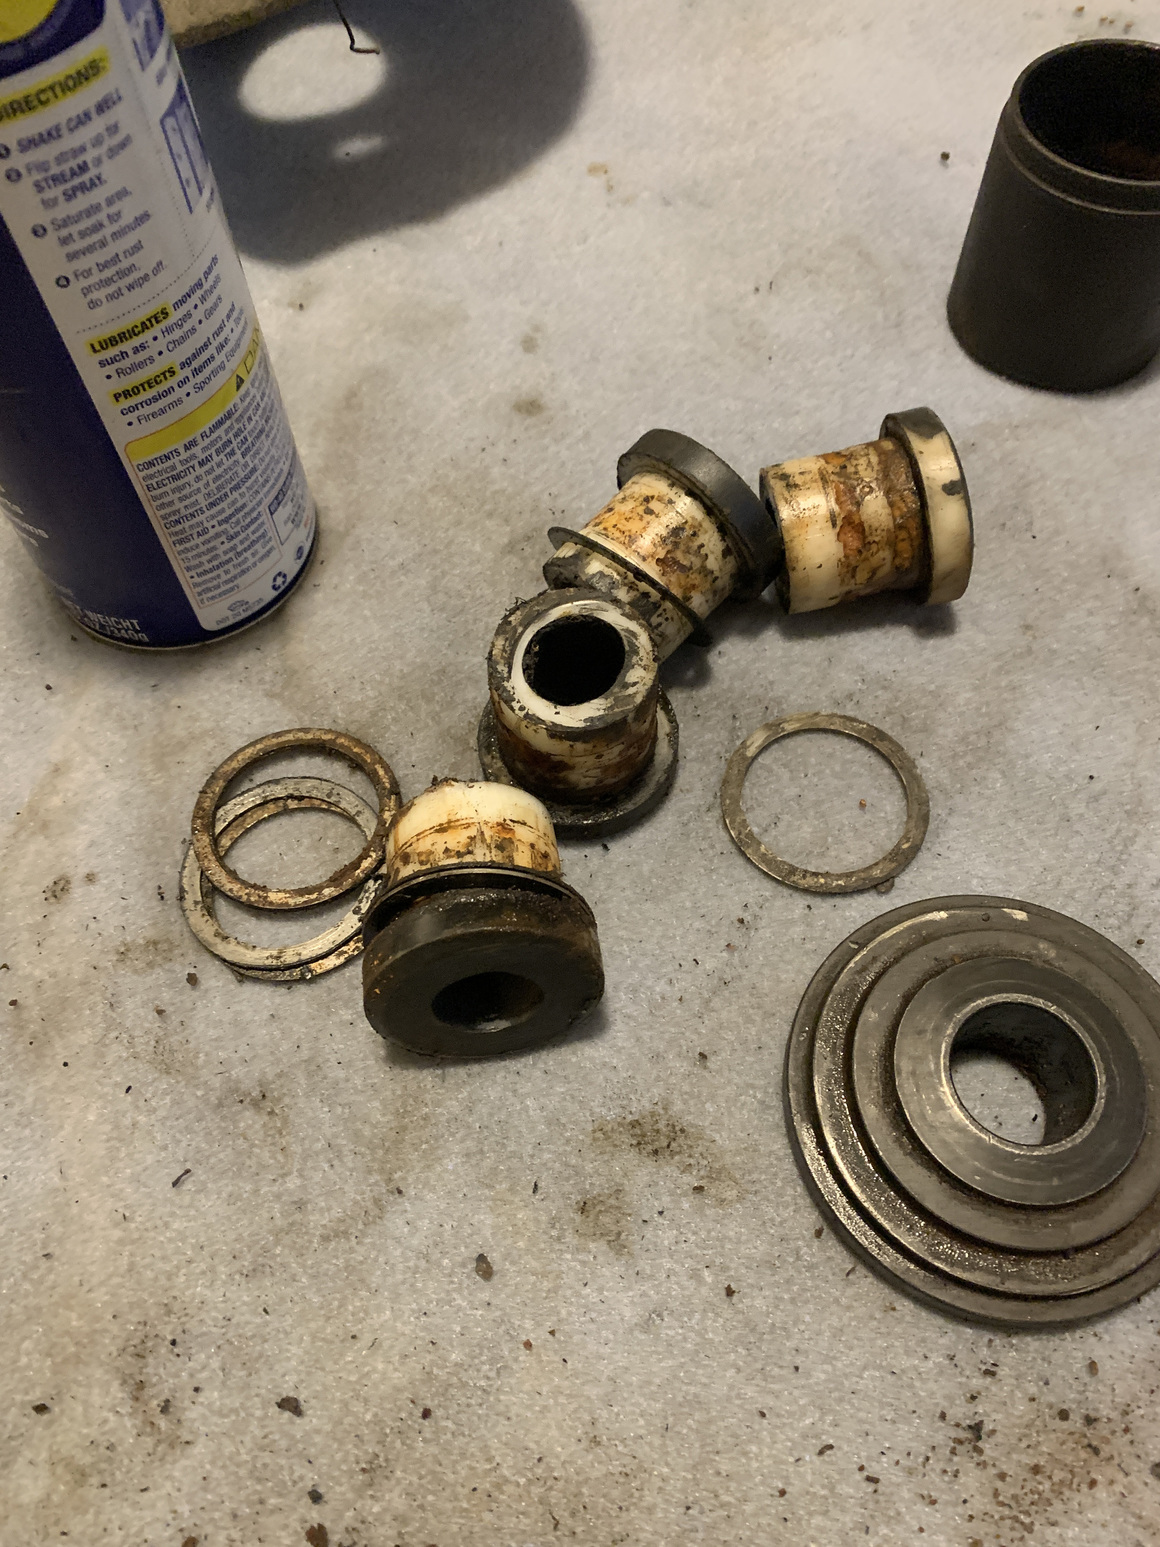
 The battle isn't done.
Your surfaces should end up looking like this:
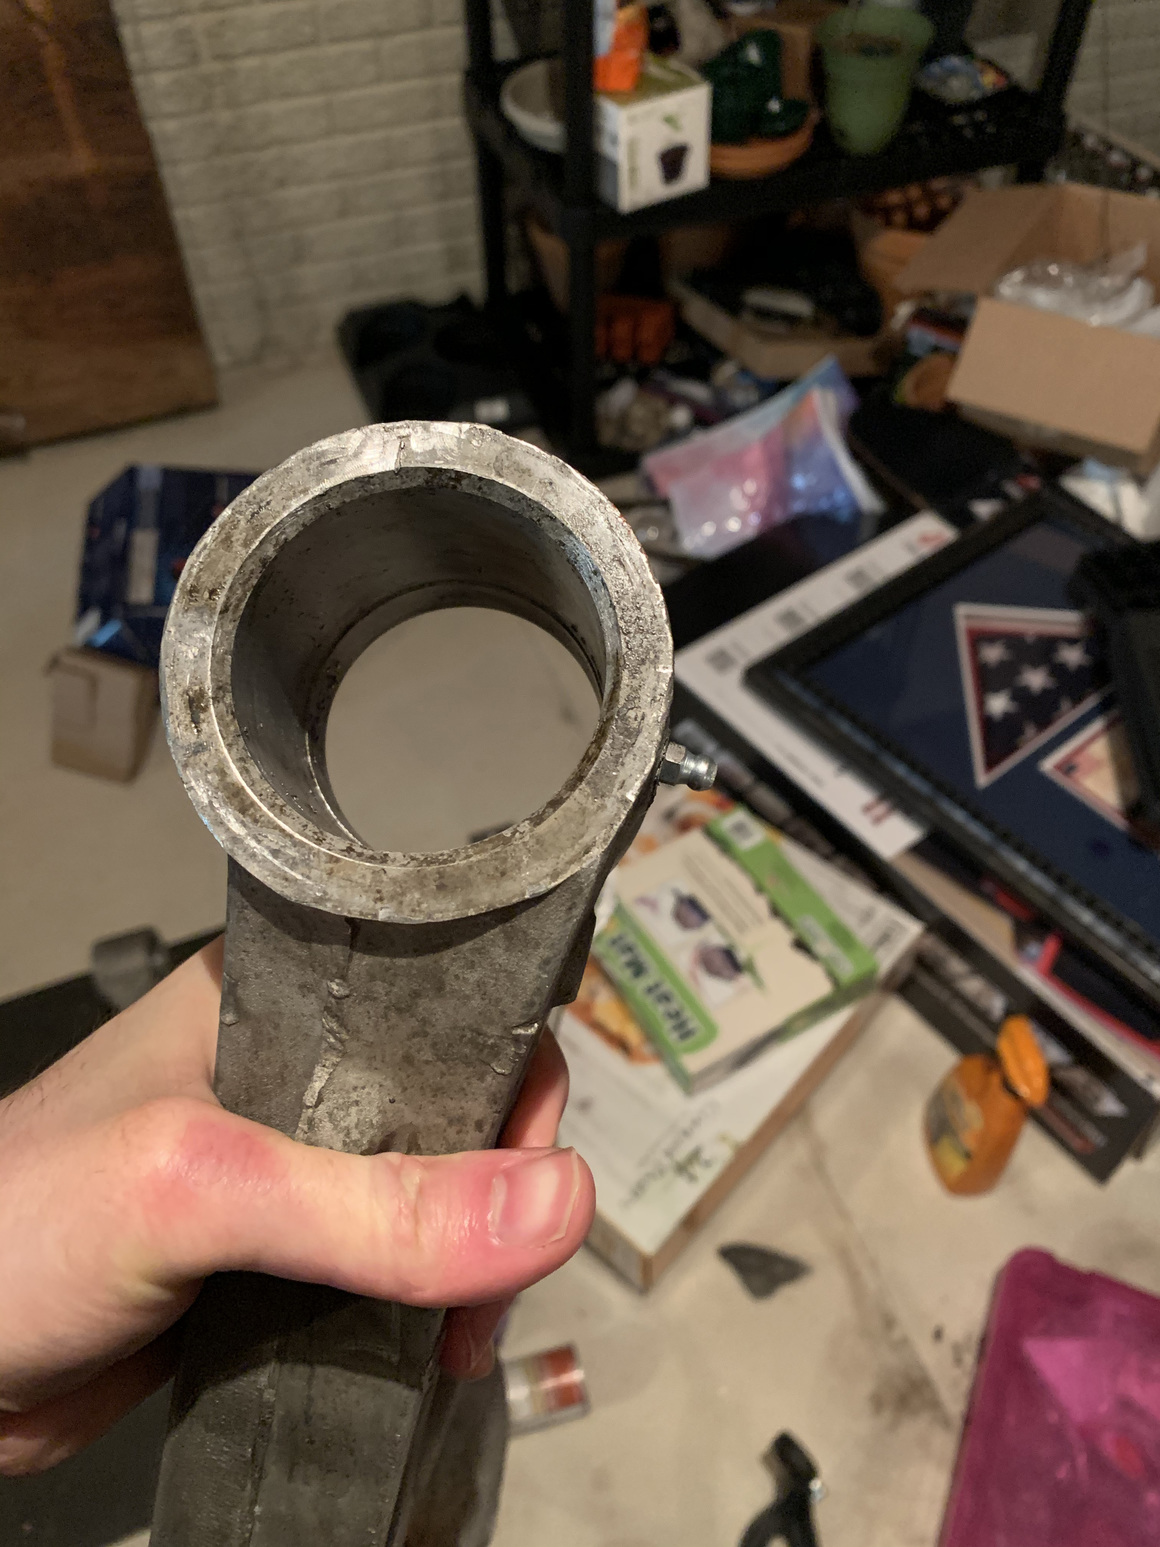
And, on the subframe cradle, like this:
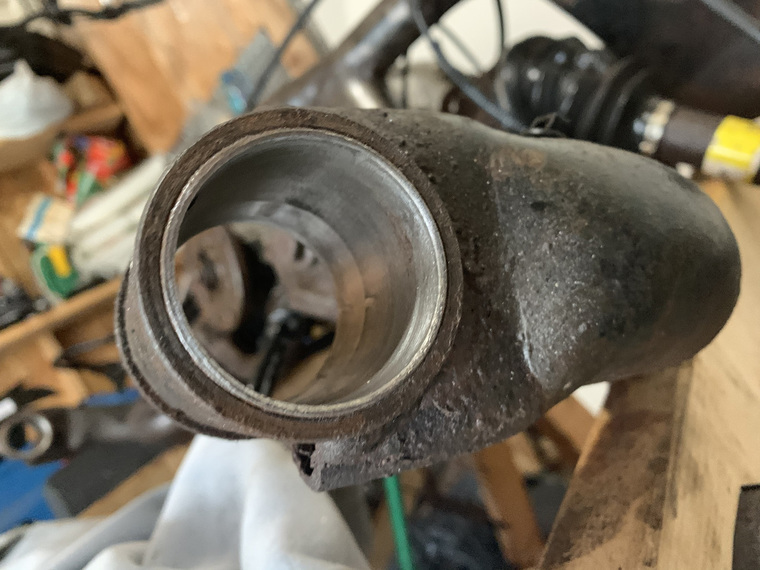
We'll need some reinforcements.
Just removing the bushings, of course, isn't really enough. You'll need to call in some reinforcements in the form of new bushings.I was fortunate enough to live in a state where some allies were ready at my beck and call.

Stayed tuned for Part IV of the series, which will describe how Full Tilt Boogie Racing, based in Waukesha, WI, helped me to conquer the installation of grease fittings and new bushings into my control arms and subframe cradle.

 Surprise attacks proved key for the rebels.